How to Set Up a Safe and Effective Exhaust System for Your Laser Machine
Operating a laser machine—whether it’s a CO2 engraver or a fiber laser cutter—produces smoke, dust, and potentially toxic fumes. A robust exhaust system is not just an accessory; it is a fundamental safety requirement for your workshop. This guide will walk you through the steps to set up a system that keeps your air clean and your machine running smoothly.
Why Ventilation is Critical
When a laser beam vaporizes material, it creates microscopic particles and gases. Depending on the material (like acrylic, MDF, or certain plastics), these fumes can be:
- Toxic: Some materials release hydrogen cyanide or chlorine gas.
- Corrosive: Smoke residue can settle on your mirrors and lenses, degrading your optics.
- Combustible: Fine dust buildup inside the machine is a significant fire hazard.
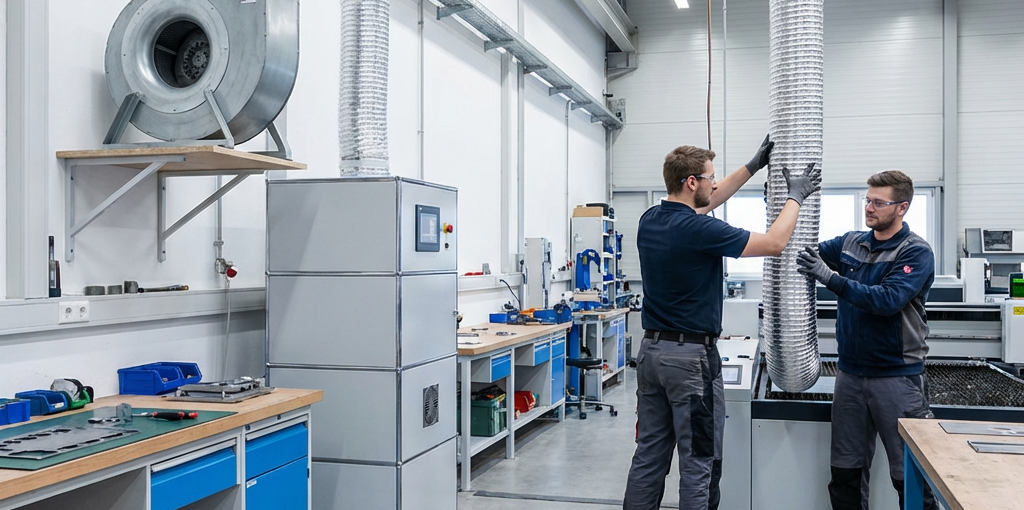
Essential Components of an Exhaust System
1. The Exhaust Fan (Blower)
The fan is the heart of the system. You need a fan with enough “static pressure” to overcome the resistance of the ducting and filters.
- CFM (Cubic Feet per Minute): Most small to medium laser beds require between 250 and 600 CFM. Larger industrial machines may need 1000+ CFM.
2. Ducting
The pipes that carry the smoke from the machine to the fan and then outside.
- Material: Use smooth-walled rigid ducting where possible to maximize airflow. If you use flexible ducting, keep it as short and straight as possible.
- Sealing: Use foil tape or high-quality clamps to ensure every joint is airtight.
3. Air Filtration (Optional but Recommended)
If you cannot vent directly outside, or if you live in a sensitive area, a fume extractor with HEPA and activated carbon filters is necessary to scrub the air before it returns to the room.
Step-by-Step Setup Guide
Step 1: Position the Fan correctly
The best place for the exhaust fan is near the exit point (e.g., the window or wall vent), not right next to the laser. This keeps the majority of the ducting under “negative pressure,” meaning if there is a small leak in the pipe, air will be sucked in rather than smoke being blown out into your room.
Step 2: Minimize Bends
Every 90-degree turn in your ducting significantly reduces your effective CFM. Try to use 45-degree elbows or long-radius bends to keep the air moving fast.
Step 3: Check for “Dead Zones”
Ensure that air is entering the laser cabinet from the opposite side of the exhaust port. This creates a “cross-draft” that sweeps the entire work area clean. If your machine is too airtight, you may need to open a small vent or the front door slightly.
Maintenance Checklist
To keep your system effective, perform these tasks regularly:
- Clean the Fan Blades: Dust buildup on the blades reduces efficiency and can cause vibration.
- Inspect the Ducting: Check for holes, cracks, or sagging sections where dust might collect.
- Replace Filters: If using a fume extractor, monitor the airflow. A drop in suction usually means the HEPA filter is clogged.
Conclusion
A well-designed exhaust system protects your health, improves your cut quality by removing smoke from the beam path, and extends the life of your laser components. Don’t cut corners on ventilation—it’s the most important safety investment you’ll make.
Need a more powerful blower or replacement parts? Browse our full selection in the Laser Machine Category.