Optimizing Laser Cutting Speeds and Feeds: A Master Guide for Professional Results
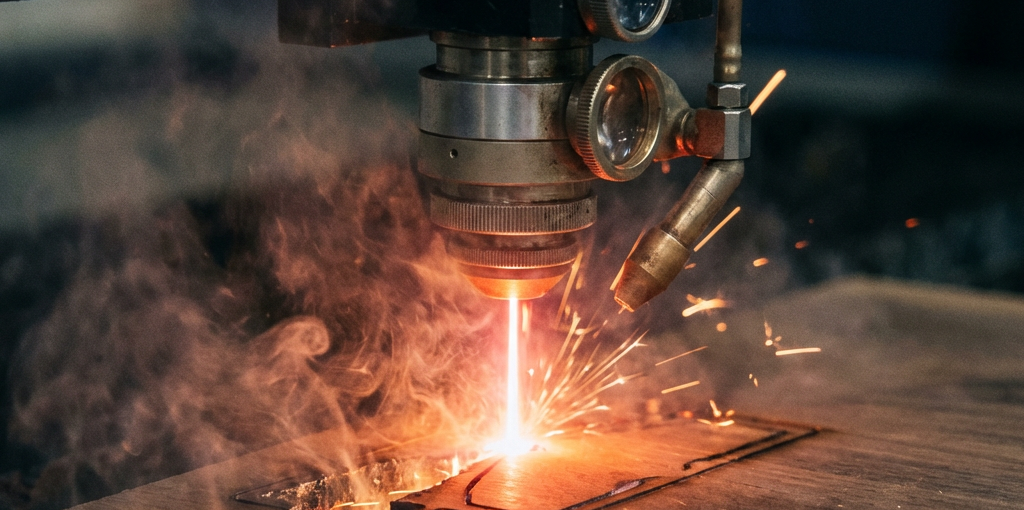
In the world of laser cutting and engraving, there is a delicate balance between Power, Speed, and Frequency. If your speed is too high, you might not cut all the way through. If it’s too low, you’ll end up with charred edges, wide “kerf,” and wasted material.
Achieving the perfect “Speed and Feed” is more of a science than an art. This guide will help you understand the relationship between these factors so you can produce professional results every time.
1. The Trinity of Laser Parameters
- Speed (mm/s or mm/min): This determines how fast the laser head moves across the material. Higher speeds reduce heat buildup but require more power to cut.
- Power (% or Watts): This is the intensity of the laser beam. More power is required for thicker or denser materials.
- Frequency (PPI or Hz): For CO2 lasers, this is “Pulses Per Inch” or the frequency of the beam’s pulses. Higher frequency results in a smoother cut edge but generates more heat.
2. Setting Your Baseline (The Material Test)
Every brand of plywood, acrylic, or leather is different. To find the optimal settings, you should always perform a Power/Speed Matrix Test.
- The Grid: Create a small grid (e.g., 5×5 squares) in your software (LightBurn, RDWorks, etc.).
- The Variables: Set one axis to vary the Speed (e.g., 10, 20, 30, 40, 50 mm/s) and the other to vary the Power (e.g., 20, 40, 60, 80, 100%).
- The Result: Run the test on a scrap piece of your target material. The square that cuts through cleanly with the least amount of charring is your ideal setting.
3. Cutting vs. Engraving: Different Strategies
For Clean Cutting:
- High Power, High Speed: This is generally better for thin materials (under 3mm) to prevent heat-affected zones (HAZ).
- Lower Speed, Multiple Passes: For thick materials (e.g., 10mm acrylic), it’s often better to do two faster passes than one extremely slow, high-power pass. This prevents melting and flaming.
For Deep Engraving:
- Higher DPI/Interval: Increasing the “dots per inch” creates a deeper, smoother engraving but takes more time.
- Low Power, Multiple Passes: To avoid scorching wood, use several low-power passes. This builds depth without burning the surrounding fibers.
4. The Role of Assist Gas
Never underestimate the power of Air Assist.
- High Pressure: Essential for cutting metal with a fiber laser or thick wood with a CO2 laser. It blows the molten material out of the cut and prevents fire.
- Low Pressure: Better for engraving delicate materials like paper or leather, where high air pressure might distort the result.
5. Speed and Feed Reference (Sample Settings)
Note: These are baseline estimates for a 100W CO2 Laser. Always test first!
| Material | Thickness | Speed | Power | Result |
|---|---|---|---|---|
| Birch Plywood | 3mm | 25 mm/s | 60% | Clean cut, light tan edge |
| Cast Acrylic | 5mm | 12 mm/s | 85% | Polished, clear edge |
| Vegetable Tanned Leather | 2mm | 45 mm/s | 30% | Sharp, dark engraving |
| Anodized Aluminum | N/A | 150 mm/s | 25% | Bright white mark |
Conclusion
The key to professional laser results is documentation. Once you find the perfect settings for a material, save them to your software’s library. This ensures consistency and saves hours of setup time on future projects.
Ready to boost your laser’s performance? Check out our latest Laser Machine parts and accessories for higher precision and faster throughput.