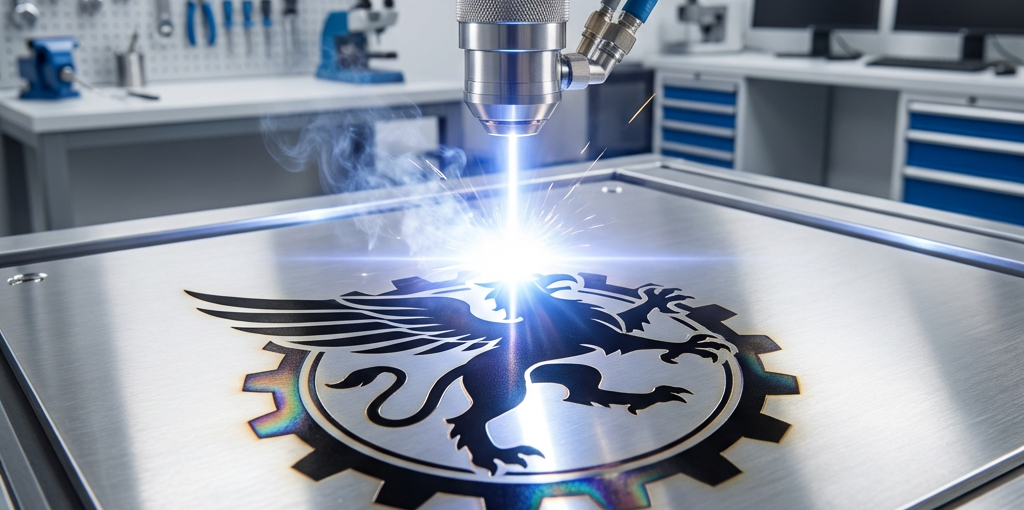
Mastering the Art of Fiber Laser Marking on Stainless Steel
Stainless steel is one of the most popular materials for fiber laser marking due to its durability, corrosion resistance, and the high-quality results that can be achieved. However, marking stainless steel isn’t just about “burning” the surface; it’s about understanding the science of annealing and surface removal.
Whether you are marking surgical instruments, industrial tags, or decorative parts, this guide will help you achieve professional, high-contrast results every time.
1. Understanding the Three Main Marking Styles
When working with stainless steel, there are three primary ways the laser interacts with the material:
- Annealing (Black Marking): This is the most sought-after result for stainless steel. By heating the surface slowly without melting it, you create an oxide layer that turns dark black. This marking is smooth to the touch and highly resistant to corrosion.
- Surface Removal (Engraving): The laser vaporizes a thin layer of the steel, creating a deep, permanent mark. This is best for parts exposed to extreme wear.
- Color Marking: By precisely controlling the heat and frequency, you can create a range of colors (blues, golds, and reds) on certain grades of stainless steel.
2. Key Parameters for Perfect Annealing
To achieve that deep, consistent black mark, you need to find the right “sweet spot” in your settings:
- Speed: Use a relatively slow speed (e.g., 100-300 mm/s). The goal is to give the laser enough time to heat the surface but not enough time to vaporize it.
- Power: Moderate power is usually best. Start at 30-50% power for a 20W or 30W fiber laser.
- Frequency: High frequency (e.g., 30-60 kHz) is critical for annealing. It ensures a consistent, overlapping heat profile.
- Focus: Sometimes, being slightly out of focus (1-2mm off the surface) can help distribute the heat more evenly for a darker black mark.
3. The Importance of Hatching Patterns
The “Hatch” is the path the laser takes to fill in a shape. For high-quality marking on stainless steel:
- Hatch Distance: Keep your lines close together (e.g., 0.01mm to 0.03mm) to ensure there are no gaps in the marking.
- Multiple Hatches: Use a 90-degree cross-hatch (one pass horizontal, one pass vertical) to ensure the entire area is evenly heated and the black is truly solid.
4. Material Preparation and Cleaning
Any oil, fingerprints, or dust on the surface of the steel can cause uneven marking. Always clean your workpieces with alcohol or a dedicated degreaser before marking. This is especially important for surgical or food-grade applications where the oxide layer must be perfectly uniform to maintain its non-corrosive properties.
5. Summary Settings Checklist
| Marking Type | Speed | Power | Frequency | Focus |
|---|---|---|---|---|
| Deep Engraving | High (500+) | High (80%+) | Low (20-30kHz) | In-focus |
| Black Annealing | Slow (200) | Mid (40%) | High (50kHz) | +1.5mm |
| Frosty White | Fast (1000) | Low (20%) | High (60kHz) | In-focus |
Conclusion
Mastering fiber laser marking on stainless steel is a journey of testing and documentation. By understanding the relationship between speed, power, and focus, you can transform a simple piece of steel into a high-value, professionally branded product.
Looking for a high-performance fiber laser marking machine? Explore our Fiber Laser Collection for the most reliable sources and systems in the industry.